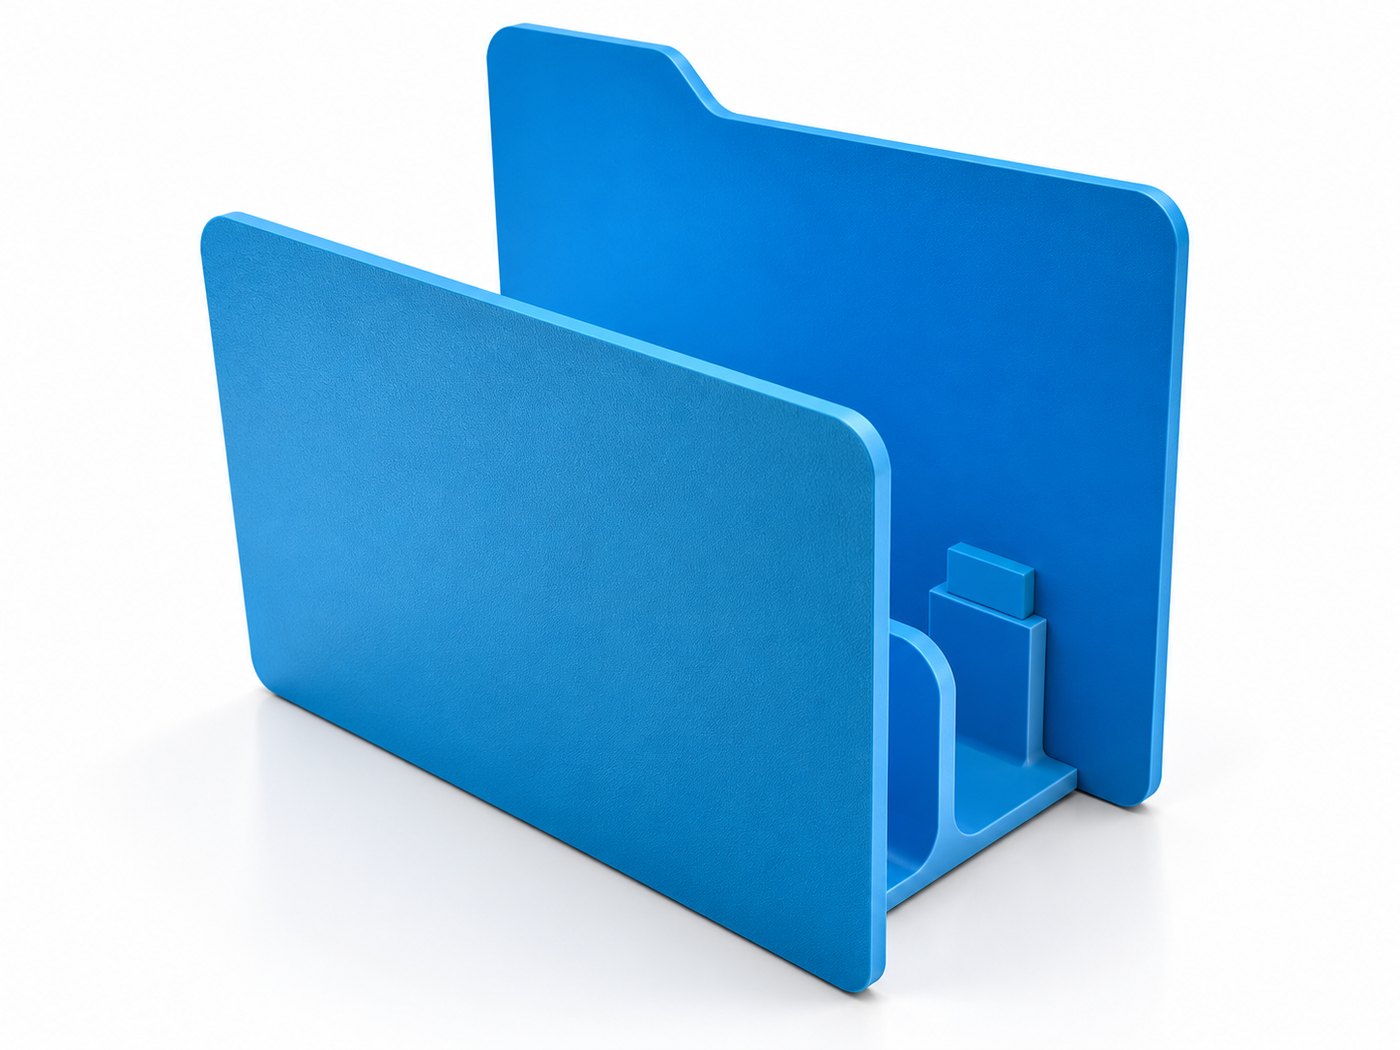
macOS Folder Icon Mail Organizer V1
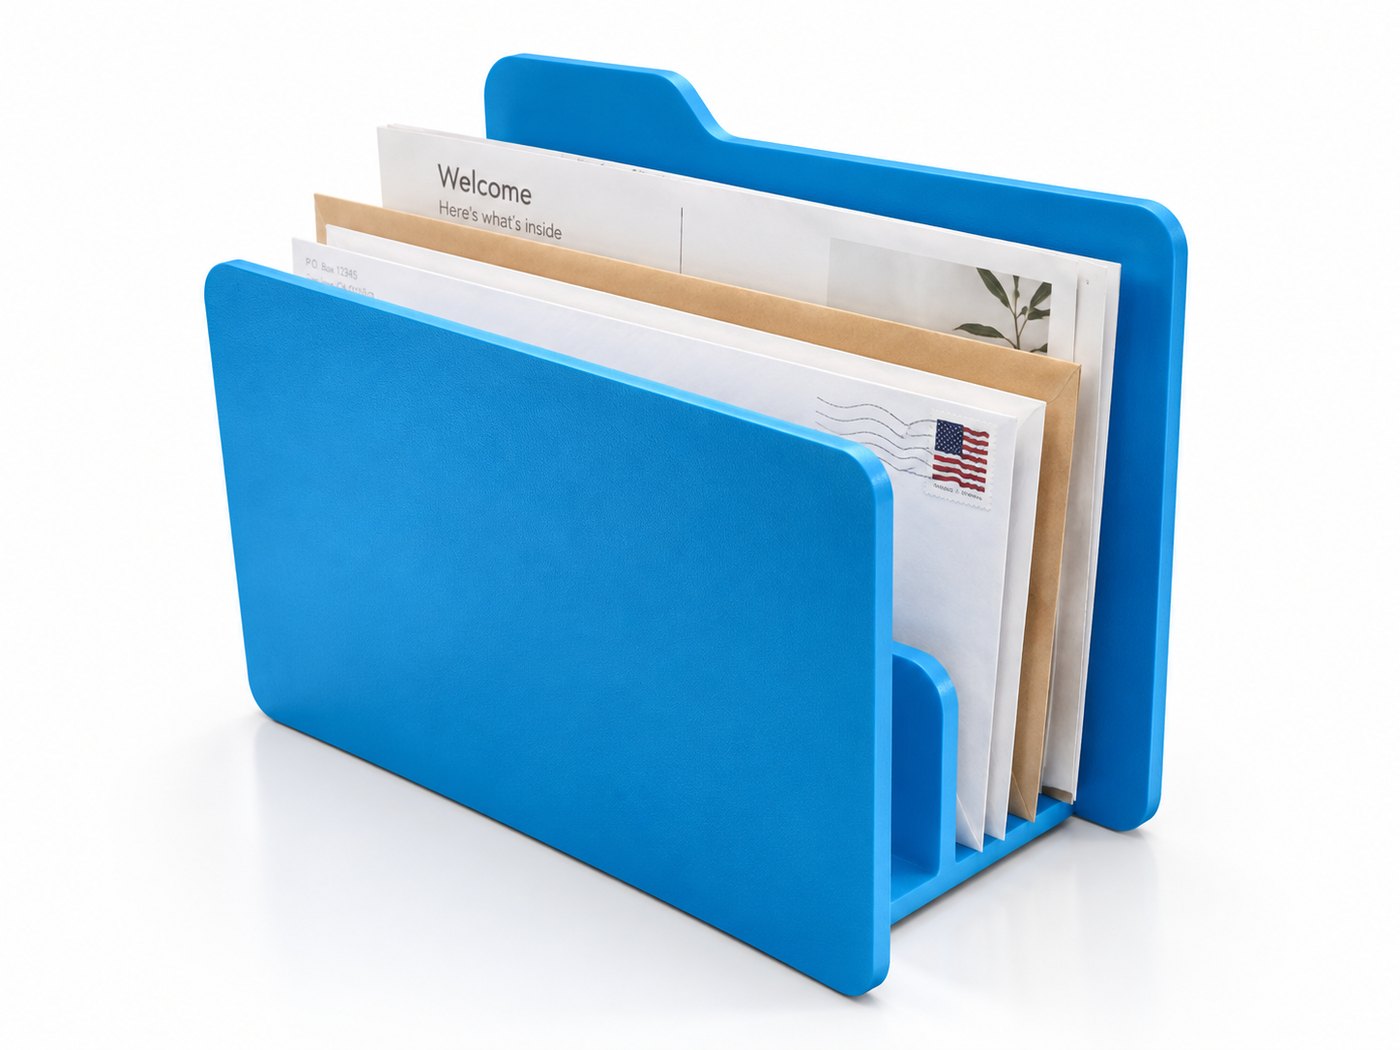
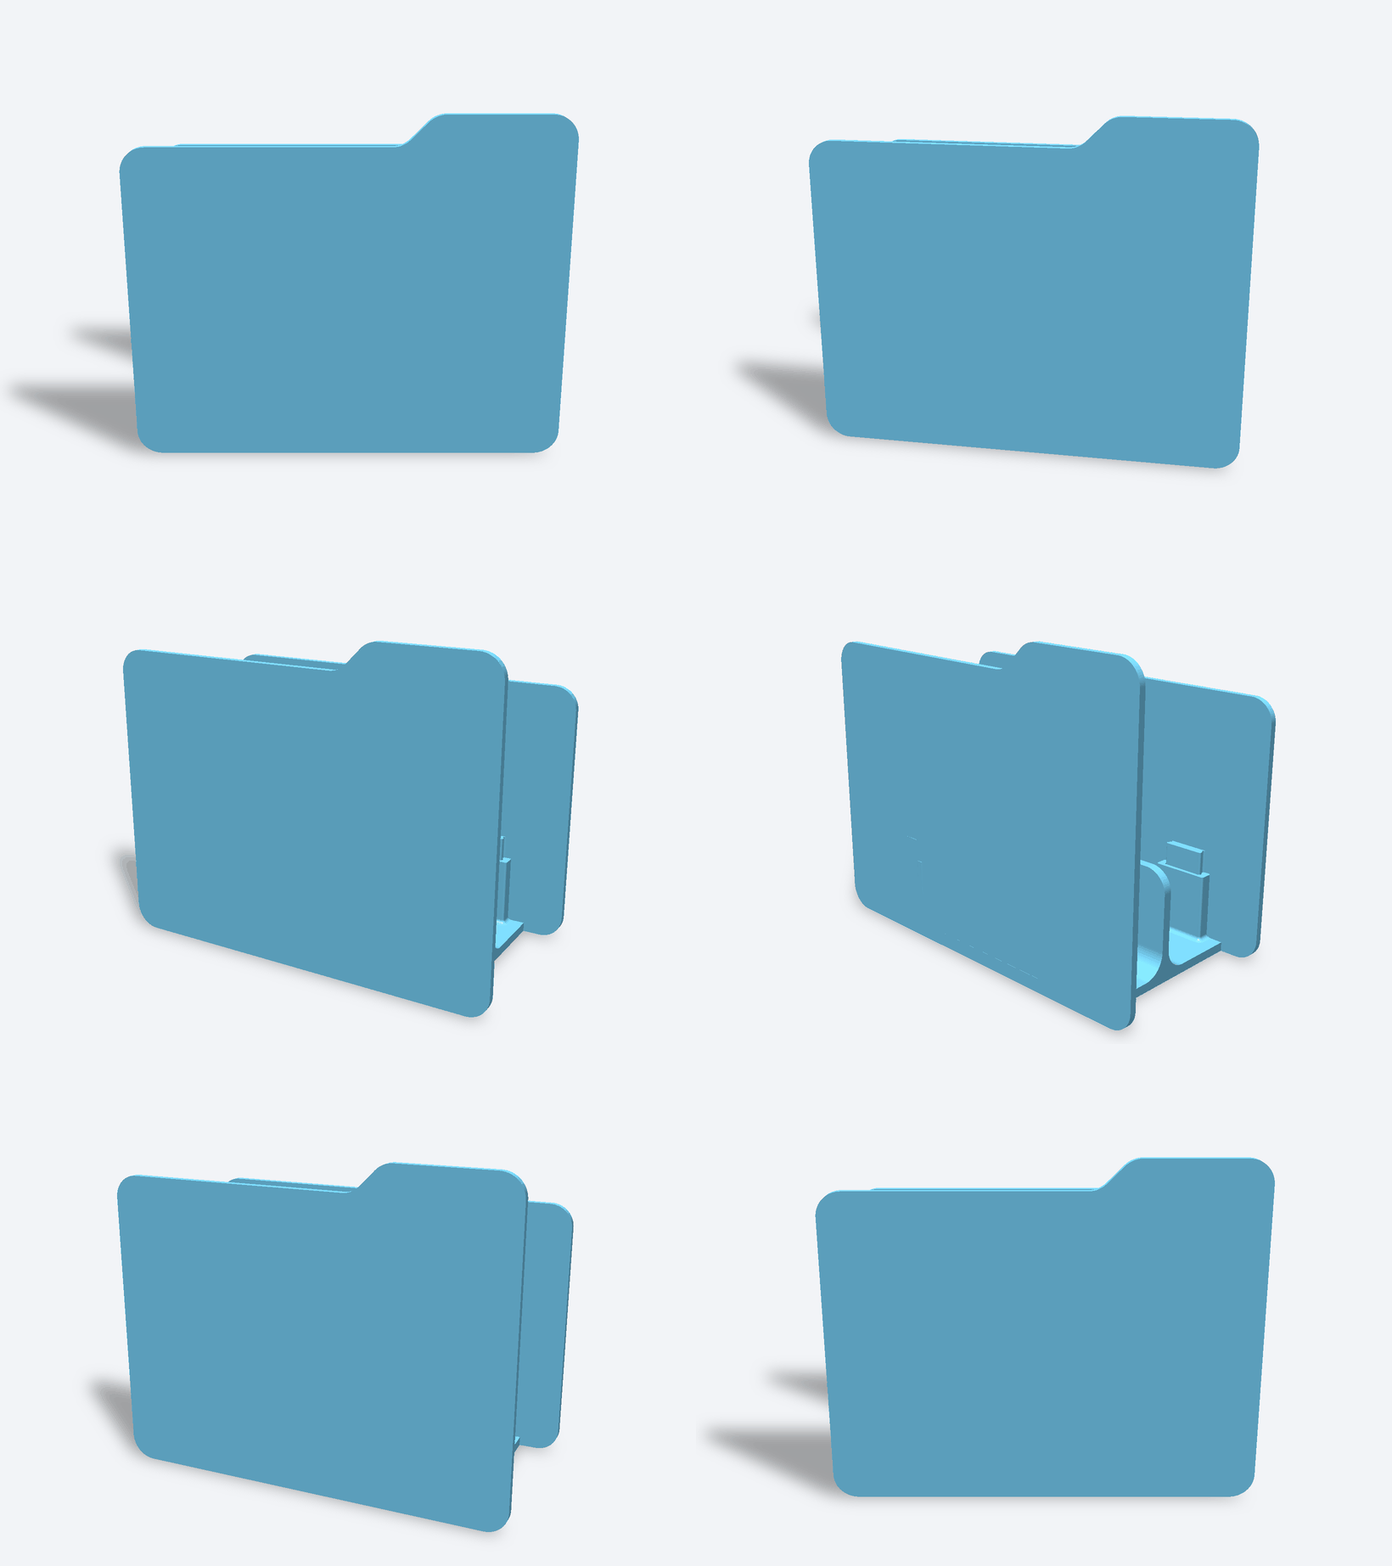
A 3D printed mail and letter organizer shaped like the macOS folder icon
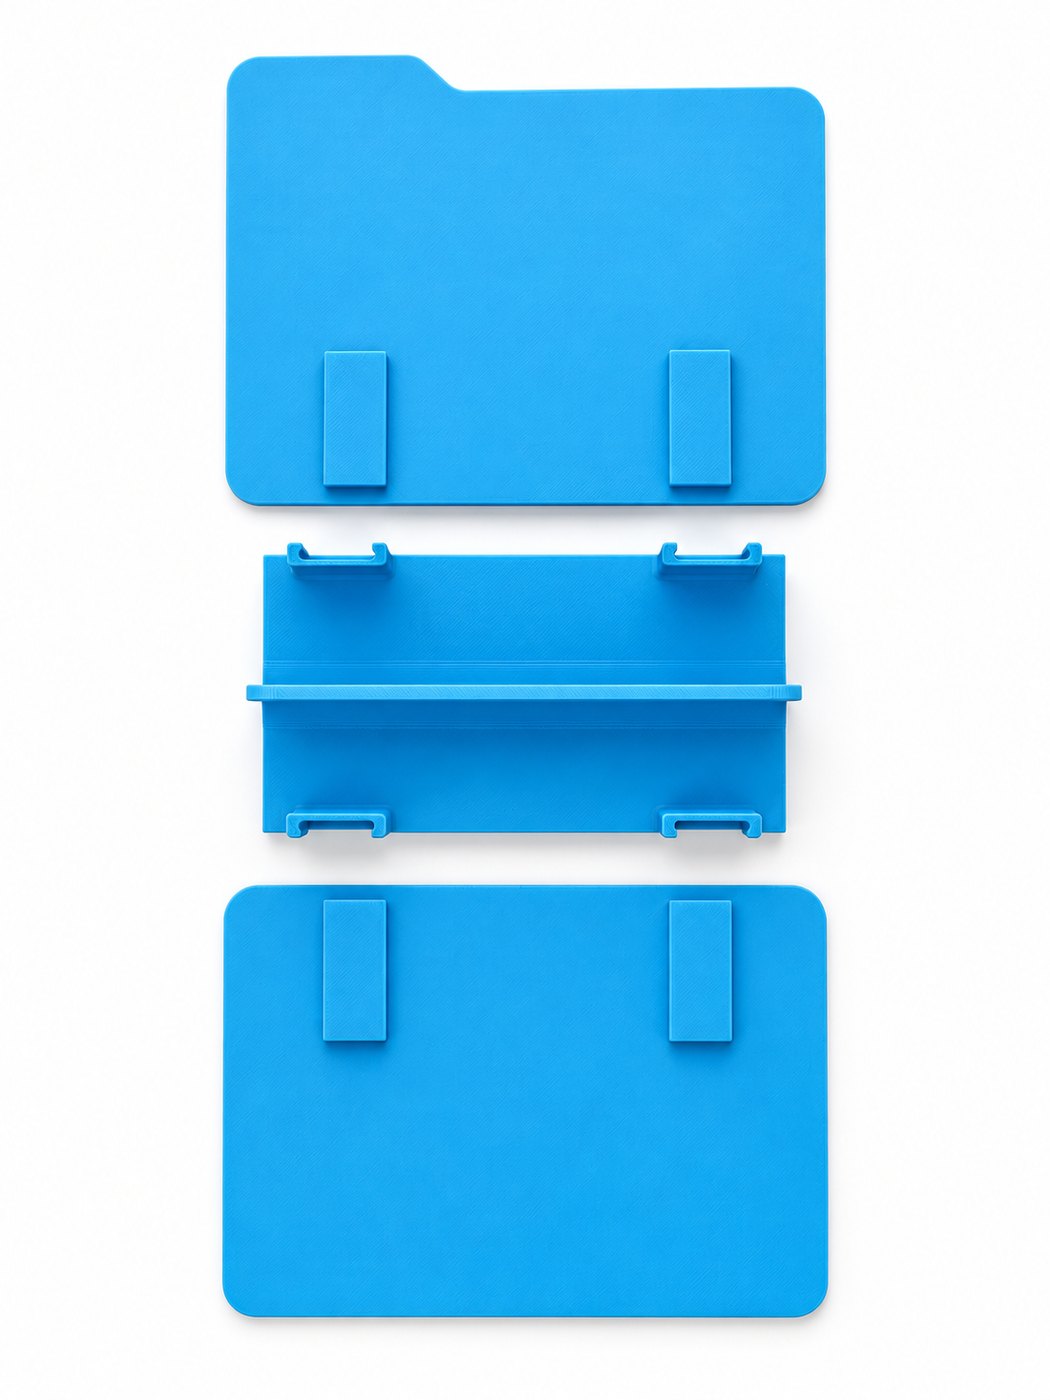
Still warm Available on MakerWorldThe folder icon you've clicked ten thousand times, except this one holds the actual mail. Three printed parts that clip together, no screws and no glue, and a channel down the middle so envelopes stand in two groups instead of sliding into one pile at the back.
- Size
- 175 × 86 × 142 mm
- Filament
- ≈ 180 g
- Parts
- Three, clipped
- Fits
- Letter and A4 envelopes
- Hardware
- None
What it is
175 × 141.5 × 86 mm assembled, in three parts: a front panel, a spine, and a back panel. The spine is the one doing the work — it carries the clips the panels drop into, and the ridge that splits the stack in two.
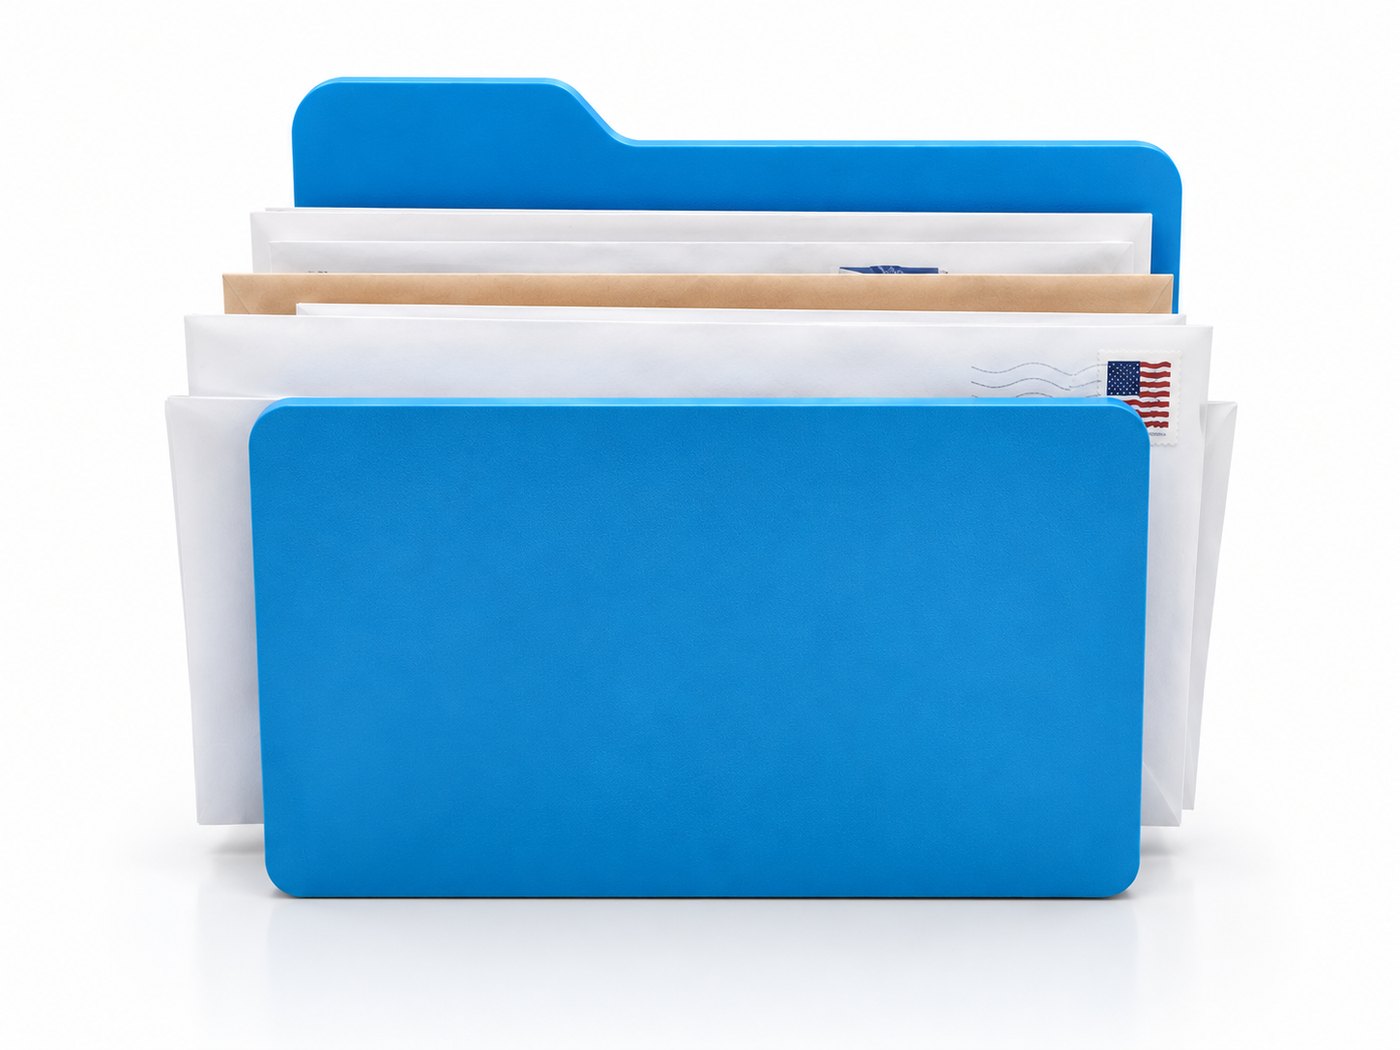
The front panel is shorter than the back on purpose. You want to see what arrived without lifting anything out, and a folder is the one shape where that reads as design rather than as a mistake.
Because it's three separate parts, it's three separate colours if you want it to be. No AMS and no filament changes — you're just printing three things and clipping them together. It scales the same way: the parts are independent, so if your bed is bigger than ours you can take the whole thing up and it still fits together.
All three print flat on the bed. No supports, nothing bridging, and no overhang steeper than a chamfer. It's about 180 g over two plates, which is most of an afternoon but none of your attention.
Printing it
What we printed ours with. A starting point, not laws.
- Layer height
- 0.24 mm on a 0.4 mm nozzle, 0.2 mm first layer
- Walls
- 2 perimeters
- Infill
- 15%, gyroid
- Supports
- None. Every part lies flat on its back.
- Material
- PLA. The load is a stack of paper leaning on a wall, which is about as gentle as a bracket gets.
- Plates
- Two. Around 3 hours 45 minutes and 180 g for the set.
If your printer disagrees with any of this, trust your printer.
There's a print profile for this on MakerWorld with both plates already laid out and the settings above baked in. If you'd rather not slice it yourself, start there.
Also available on MakerWorld